Troubleshooting printing
If receipts printed from your Star TSP receipt printer appear in a tiny font and are difficult to read, this is likely due to a paper size configuration issue. To fix this you reset the paper size for your Star TSP receipt printer.
- In OnSite StoreMaster on the File menu click Page Setup.
- Ensure the bottom two controls are set to Any Printer and US Letter.
- From the Settings list click Save as Default.
- The list will return to Page Attributes and not stay set to Save as Default. This is normal. Click OK.
- Click Yes to Save for Full Page Printing.
- To set the paper size for the Star TSP receipt printer, on the File menu click Page Setup.
- Set Format For to your Star TSP printer.
- Set Paper Size to 72mm * 2000mm and click OK.
- In the next window, select Save for Receipt Printing and click Yes.
Printed reports and documents appear in a narrow format
If the full-page printing dimensions have been set to the wrong size, the printed or previewed output of a report or printed document can appear cut in half vertically. You can fix this by resetting the full-page printing settings.
- In OnSite StoreMaster on the File menu click Page Setup.
- Ensure the bottom two controls are set to Any Printer and US Letter.
- From the Settings list click Save as Default.
- The list will return to Page Attributes and not stay set to Save as Default. This is normal. Click OK.
- Click Yes to Save for Full Page Printing.
Receipts have the wrong company logo
When you print a receipt or other document and the wrong company logo is displayed, this can be caused by an old company logo in the image cache folder. You can solve this by clearing the company photo image cache.
- Save a copy of your company logo as a .jpg.
- In OnSite StoreMaster on the Tools menu click Setup >Basics >Company and remove the current logo.
- Log out of OnSite.
- Open a new Finder window.
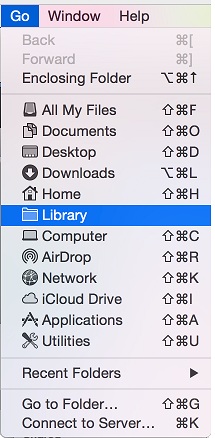
- Hold the Option key and on the Menu bar click Go >Library.
- In the Library folder click Caches >LightSpeed.
- Open the subfolders and move any company_photo folders to the Trash and empty the Trash.
- Log into OnSite and in StoreMaster on the Tools menu click Setup >Basics >Company and add your logo.
- Log out and log back into OnSite. When you print your documents, your logo will now appear.
